1. open picasa (you should already have photos(if any) you want to fix inside the header already in picasa
2. At the upper menu/functionality bar, bearing File, View, Folder.....click create
3. It will drop down,then select Picture Colledge
4.Once opened,
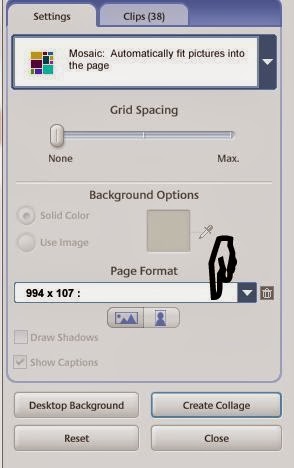
5. Then Select create colledge in the above picture.( note that if you want to add some images to your header it's here. Don't create colledge yet. But look in the shot above and see clips atop,just behind settings, yes select that clips; the entire shot above will change to

then select more if the images you want to use like in the above aren't here yet. However, if images are but the ones you don't like, just right click each of them and select that red X above, they will be deleted. For getting your choice images across, click Get More shown in the image. You will be taken to the library. select all the images you want to use, then return to back to the ongoing collage. You should now see the selected image on the above box(instead of been vacant like it is now) Just click the green + behind red X above and the photos will automatically appear on the collage been created.You can shuffle ,delete, change position of all photos in the collage by just right-clicking any one you desire to,,,,,,,afterwards, Create Collage.
6. the next place you will be led to is picasa editor
7. look carefully among all the features there and choose any additional effect you wish to add to the collage. But the basic thing at this stage is adding text.
8. after adding texts to your header click apply and then hit the enter key to be returned back to picasa picture gallary with your ready header
9 Right click your mouse first then left-click,the first click just following the second. An options pane concerning your header will show ,look up for 'save' and select it
10. After this still repeat the steps mentioned above to drop your header options the second time. Now look up for 'locate' two options will open under locate, select on local disk(c).
11 It will now carry you to where that header is stored inside your local memory;drag it out to your pictures or any other easy to remember folder.
12. Log into blogger>>layout>> header, Just look at your layout careful,especially at that spot you think the header should be(at the upper middle of the layout)
13. On the headers body, click EDIT. a pop up window will show, look at this window carefully, you should see things like your blog description, image etc. Select image and upload.
Note: If you actually did write your blogs name on the header, you could just 'mark' the' use header instead description and title'' option. That's what i used for bloggerdemmy. ''Do not shrink to fit screen'' Just upload and save. You header is fixed.